
Tip & Trick
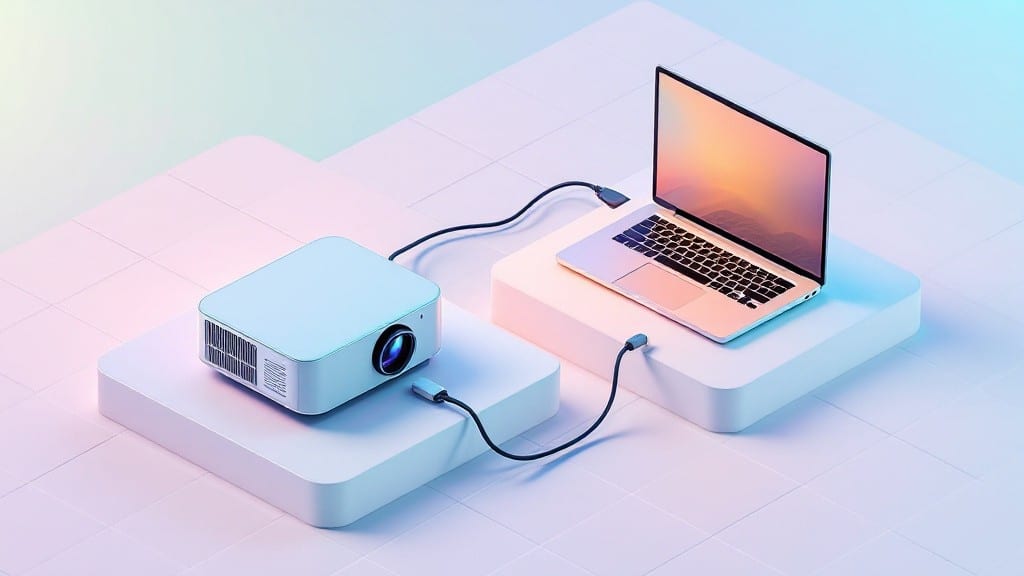
Connecting your projector to a computer used to mean wrestling with tangled cables and praying for the right resolution.
I’ve hooked up projectors to everything from my uncle’s old IBM in ’98 to modern ThinkPads, and the process has actually gotten simpler—but only if you know the right approach for your setup.
Whether you’re using HDMI, VGA, or even wireless, the key is matching your computer’s ports to the projector’s inputs without guessing.
The wired method is still the most reliable: grab an HDMI cable if your computer has one (most do these days), or a VGA adapter if you’re working with older hardware. On Windows, right-click your desktop, select Display settings, then choose the projector from the list—it’s that straightforward.
For Macs, use the Displays menu in System Preferences, and Linux users can toggle with xrandr. The trickiest part? Making sure both devices are set to the same resolution before you connect—skip this, and you’ll get a blurry mess.
Wireless setups save the cable chaos but require a little more prep. Miracast works on Windows 10/11 if your projector supports it—just open Connect from the taskbar, pick your device, and confirm the code.
For Macs or older projectors, third-party apps like LetsView or ApowerMirror bridge the gap with minimal fuss. Either way, you’ll avoid the cable snarl, but double-check your Wi-Fi signal first—weak connections turn wireless into a frustrating gamble.
Here’s where most people trip up: forgetting to toggle the projector’s input source. If your screen stays black, hit the Source or Input button on the projector (usually a physical button or menu option) and select the correct port—HDMI, VGA, or whatever you’re using.
Pro tip: Test with a static image first to rule out resolution mismatches before diving into troubleshooting. Once it’s working, save your settings so the projector remembers your preferred input next time.
📚 In This Guide
- What you need
- Instructions
- Tips and common mistakes
- Wrapping up and next steps
What you need
- ● Projector: A compatible projector (HDMI, VGA, or wireless-capable, depending on your setup).
- ● Computer: A PC or Mac with the right ports (HDMI, VGA, DisplayPort, or USB for wireless options).
- ● Cables (if wired): HDMI cable: 1 (6 ft or longer, depending on distance).
- ● OR VGA cable: 1 (if your projector/computer lacks HDMI).
- ● OR DisplayPort/Adapter: 1 (if needed for compatibility).
- ● Power supply: Ensure both the projector and computer are powered on.
- ● Wireless adapter: A Miracast dongle (e.g., Microsoft Wireless Display Adapter) or HDMI-to-Wi-Fi transmitter (if going wireless).
- ● USB-C to HDMI adapter: For laptops with USB-C ports.
- ● Extension cables: If your projector is far from the computer.
- ● Remote control: For easier projector adjustments.
Step-by-Step instructions for connecting a projector to your computer
Here’s the straightforward method I use to get a projector working with any computer, whether you’re using cables or wireless.
Gather the Necessary Cables and Adapters
Check your projector’s ports first—most support HDMI, VGA, or DisplayPort. If your computer lacks matching ports, grab an HDMI-to-DisplayPort or HDMI-to-VGA adapter. For older projectors, you might need a VGA-to-HDMI converter, but these can degrade video quality, so use them only as a last resort.
If your projector supports Miracast or Wi-Fi Direct, note the network name and password—you’ll need these for the wireless setup. For wired connections, ensure the cables are rated for at least 1080p resolution if you’re projecting high-definition content.
Connect the Projector Using the Appropriate Method
For wired connections, power on the projector first, then plug in the cable. Wait 30 seconds before turning on your computer—this prevents input lag or blank screens. If using HDMI, the projector should automatically detect the signal within 5-10 seconds. For VGA, you may need to manually select the input source on the projector’s remote.
For wireless connections, open your computer’s display settings and look for the projector under Available devices. If it doesn’t appear, enable Miracast in Windows (search for "Project" in the Start menu) or use a third-party app like LetsView for Mac. Some projectors require you to connect via a Wi-Fi hotspot—check the manual for exact steps.
Configure Display Settings for Optimal Performance
Once connected, right-click your desktop and select Display settings. Choose the projector as your primary or secondary display, then adjust the resolution to match the projector’s native output (usually 1080p or 720p). If the image appears stretched or distorted, enable Maintain aspect ratio in the projector’s settings.
For mirroring (duplicating your screen), select Duplicate these displays in Windows or Mirror Display in macOS. If you want to extend your desktop, choose Extend these displays instead. Test the connection by opening a video—if you see tearing or lag, lower the refresh rate to 60Hz in both the computer and projector settings.
Troubleshoot Common Connection Issues
If the projector doesn’t display anything, first check if the input source is set correctly. For HDMI, try a different cable or port—some projectors have separate HDMI 1 and HDMI 2 inputs. If using VGA, ensure the resolution in Windows is set to 1024x768 or lower, as VGA struggles with higher resolutions.
For wireless dropouts, restart both the projector and your computer’s Wi-Fi adapter. If the signal is weak, move closer or use a Wi-Fi extender. For audio issues, plug in a 3.5mm audio cable from your computer to the projector’s audio input—many projectors don’t transmit sound wirelessly.
Tips & tricks for perfect projector connections
These practical tips will help you avoid common pitfalls and get the most out of your projector setup, whether you're using cables or going wireless.
Power Sequence Matters: In Step 2, when setting up wired connections, powering on the projector first and waiting 30 seconds before turning on your computer prevents input lag and blank screens. This simple sequence ensures your projector has time to initialize properly and recognizes the incoming signal immediately. I've seen many people skip this step and end up with a black screen or delayed video—don't make that mistake!
Input Source Selection: For VGA connections specifically, remember that many projectors require you to manually select the input source after plugging in. In Step 2, if you're using VGA and nothing appears on screen, check your projector's remote control for an "Input" or "Source" button. Some projectors even have dedicated VGA input buttons—don't assume it will auto-detect like HDMI connections do.
Resolution Settings: When configuring display settings in Step 3, always match your computer's resolution to the projector's native output. For most modern projectors, this means setting your computer to 1080p or 720p. If you're using VGA, you'll need to set your computer's resolution to 1024x768 or lower to avoid pixelation. This is particularly important when using older projectors that struggle with higher resolutions.
Wireless Troubleshooting: For wireless connections in Step 2, if your projector doesn't appear in the available devices list, try these troubleshooting steps first: restart both your computer and projector, ensure both devices are on the same network, and check that Miracast or Wi-Fi Direct is enabled in your projector's settings. Many people overlook the projector's own wireless settings, assuming the issue is with their computer.
Pro Tips for Connect Projector To Computer
- These practical tips will help you avoid common pitfalls and get the most out of your projector setup, whether you're using cables or going wireless.
- Power Sequence Matters: In Step 2, when setting up wired connections, powering on the projector first and waiting 30 seconds before turning on your computer prevents input lag and blank screens.
- Input Source Selection: For VGA connections specifically, remember that many projectors require you to manually select the input source after plugging in.
Frequently asked questions
Got questions about connecting your projector to a computer? You're not alone! Here are some of the most common concerns—and quick fixes—to make your setup smooth and hassle-free.
What’s the easiest way to connect a projector to a computer?
The easiest method depends on your setup. For wired connections, HDMI or VGA cables are plug-and-play—just connect them to your computer and projector, then select the correct input on the projector. For wireless, Miracast or third-party apps like LetsView or AirServer let you stream wirelessly with minimal setup.
Why won’t my projector display anything when I connect it?
First, check your input source on the projector—it might be set to the wrong port (e.g., HDMI 1 instead of HDMI 2). Next, ensure your computer is sending the right signal: right-click on your desktop, go to Display Settings, and select the correct output (e.g., "Projector" or "HDMI"). If using HDMI, try a different cable or port. For wireless issues, restart both devices and check your network connection.
Can I connect a projector to my computer without Wi-Fi?
You don’t need Wi-Fi for a wired connection—just use an HDMI, VGA, or DisplayPort cable. For wireless setups without Wi-Fi, try a Miracast adapter (like Chromecast) or a USB wireless transmitter. Some projectors also support Bluetooth or infrared remotes for basic control, but full-screen mirroring still requires a wired or Wi-Fi connection.
How long does it take to connect a projector to a computer?
Most wired connections take under 30 seconds—just plug in the cable and switch inputs. Wireless setups can take 1-5 minutes, depending on software installation (e.g., downloading an app like LetsView) or network setup. If you’re troubleshooting, add another 2-5 minutes for checking cables, drivers, or settings.
What if my computer doesn’t have an HDMI port?
No HDMI port? No problem! Use an adapter (e.g., HDMI-to-DisplayPort or HDMI-to-VGA) if your computer has DisplayPort or VGA. For older laptops, a USB-C to HDMI adapter works if you have a USB-C port. If all else fails, a wireless HDMI transmitter (like Anker or Logitech) can send the signal wirelessly.
How do I switch between my computer screen and projector?
On Windows, press Win + P to toggle between PC Screen Only, Duplicate, Extend, or Projector Only. On Mac, go to System Settings > Displays > Arrangement and choose your display mode. For dual monitors, drag windows to the projector screen to extend your workspace. Pro tip: Use Ctrl + F4 (Windows) to quickly switch inputs on some projectors!
Wrapping up and next steps
Connecting your projector to your computer—whether through HDMI, VGA, or wireless adapters—is easier than you think! With the right cables, settings, and a few quick adjustments, you’ll have your screen shining bright in no time. 🎉
Now that you’re all set up, why not take it to the next level? Experiment with mirroring apps, adjust your projector’s focus for the best clarity, or even set up a home theater system for movie nights.
The possibilities are endless—go ahead and make your presentations, gaming, or entertainment unforgettable!