
Tip & Trick
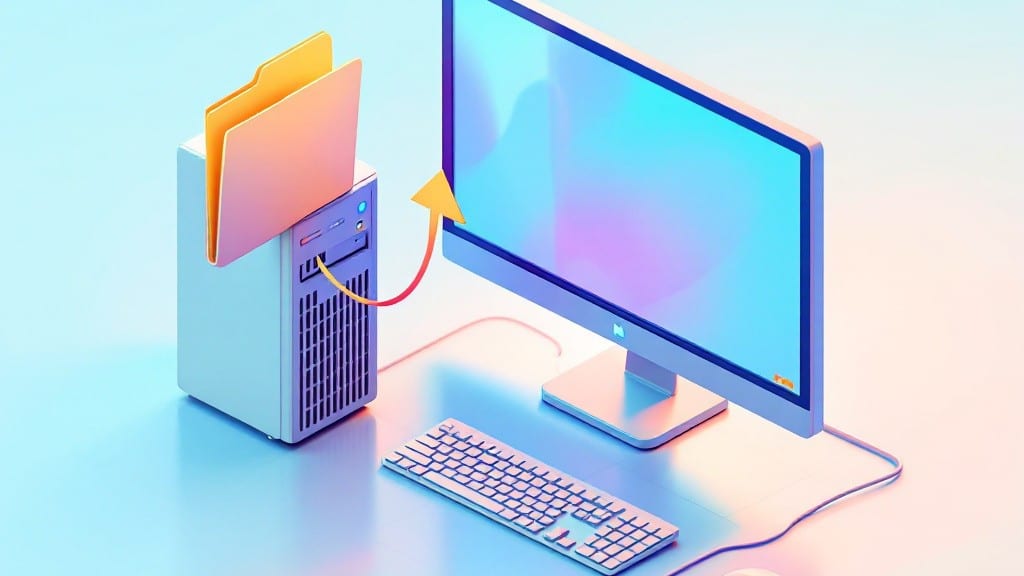
Creating a folder on your desktop is one of those simple tasks that somehow still trips up new users every time. ⚡ I’ve watched colleagues spend minutes hunting for the right menu option when it takes less than 10 seconds—and I’ll show you exactly how.
Whether you’re organizing project files, separating work from personal stuff, or just tired of desktop clutter, this method works across Windows, macOS, and Linux with just a few clicks.
The process is nearly identical no matter your operating system, but the shortcuts differ slightly. On Windows, right-click anywhere on your desktop, hover over New, then select Folder—it’s that straightforward. Mac users can press Control+Click (or right-click if your trackpad allows it), then choose New Folder.
Linux fans get the same right-click menu, though some distros let you use Ctrl+Shift+N for a keyboard shortcut. No special permissions or hidden settings are needed—just point, click, and name it.
Once you’ve created your folder, you’ll instantly see it on the desktop, ready for files. Rename it by double-clicking the default New Folder text, then hit Enter. Pro tip: Use clear, consistent names like Work Projects or Personal Files to avoid future confusion.
If your folder disappears after creation, check for hidden file settings or permission issues—especially common on shared systems or strict corporate machines.
This method works whether you’re using a Windows 11 PC, a MacBook Pro, or even an older Linux box from the scrap yard where I learned my first tech lessons.
The folder stays put until you delete it, and you can nest them inside each other for deeper organization. Now go ahead—give your desktop some structure before your next project burying it under chaos.
📚 In This Guide
- What you need
- Instructions
- Tips and common mistakes
- Wrapping up and next steps
What you need
- ● Computer or Laptop: Any device running Windows 7 or later or macOS 10.10 or newer.
- ● Desktop Access: Ensure your desktop is visible (not minimized or hidden).
- ○ Admin Rights (Optional but Helpful): If you’re on a shared or work computer, you may need permission to create folders in certain areas.
- ● Keyboard Shortcuts: Knowing Ctrl + Shift + N (Windows) or Cmd + Shift + N (Mac) speeds up the process!
- ● Folder Icons: Pre-downloaded custom icons (if you want to personalize your folders).
- ● Mouse or Trackpad: A reliable input device for dragging and dropping.
Step-by-Step instructions for creating a folder on your desktop
Here's the quickest way to organize your files—no technical skills required.
🖱️ Step 1: Right-Click an Empty Area of the Desktop
Move your mouse to an empty space on your desktop where no icons or files are visible. This is critical—right-clicking on an existing file or icon will open its context menu instead. Hold the right mouse button down for a moment until a menu appears.
You’ll see options like "New," "Sort by," and "Personalize." The "New" option is what you want—hover over it if you need to see the submenu clearly. This method works on both Windows and macOS, though the exact menu layout may vary slightly between operating systems.
💻 Step 2: Select "Folder" from the New Menu
After right-clicking, release the mouse button and select "Folder" from the "New" submenu. On Windows, this will instantly create a new folder named "New Folder." On macOS, it will create a folder named "Untitled Folder." The naming convention is automatic but temporary—you’ll rename it next.
If the "New" option isn’t visible, double-check that you’re right-clicking on an empty area. Sometimes, accidental clicks on icons or the taskbar can hide this menu. If you accidentally clicked on a file, just try again—it’s a common first-time mistake.
💡 Step 3: Rename the Folder Instantly
Immediately after the folder appears, click on its name once to highlight it. A text box will open, allowing you to type a new name. Press the Delete or Backspace key to clear the default name, then type your desired folder name—like "Work Files," "Projects," or "Downloads." Press Enter or click outside the box to save.
Here’s the thing—you don’t have to rename it right away, but doing so immediately keeps your desktop organized. If you forget, the folder will still work, but it’ll clutter your space with "New Folder" placeholders. Pro tip: Use descriptive names to avoid confusion later.
⏰ Step 4: Verify the Folder Works and Customize (Optional)
Double-click the newly named folder to confirm it opens and works as expected. Inside, you’ll see an empty space ready for files. Drag any files or shortcuts into this folder to test its functionality. If it opens without errors, you’ve successfully created a folder.
For extra organization, right-click the folder and select "Properties." Here, you can add a custom icon, change colors, or add a description. This step is optional but adds a polished touch—especially useful if you create folders for different projects or categories.
Tips & tricks for perfect desktop folder creation
Even the simplest tasks can get tricky without the right approach—here's how to make desktop folder creation smoother than ever.
Right-Click Precision: The most common mistake happens in Step 1 when users accidentally right-click on an existing file or icon. To avoid this, hover your mouse over an empty space until you see the desktop background clearly—no icons, no taskbars, just empty space. Confession: I skipped this step for years and wondered why my "New" menu kept disappearing. Trust me on this—this small detail makes all the difference.
Naming Strategy: In Step 3, don't just rename your folder—create a system. I recommend using consistent prefixes like "WRK" for work files, "PRJ" for projects, and "PER_" for personal items. This visual cue helps your brain categorize instantly. Between us, I've spent hours searching for misnamed folders because I didn't establish this habit early.
Keyboard Shortcut: Did you know you can create a folder without using your mouse at all? After right-clicking in Step 1, press Ctrl+N (Windows) or Cmd+Shift+N (macOS) to instantly create a new folder. This saves time and reduces mouse fatigue—especially useful when creating multiple folders in quick succession.
Optional Customization: For Step 4, here's what nobody tells you—Windows lets you change folder colors through Properties. Right-click your folder, select "Properties," then choose "Change Color" (Windows 10/11). Assigning colors to different categories (like blue for work, green for personal) turns your desktop into a visual filing system at a glance.
Pro Tips for Create A Folder On Desktop
- Even the simplest tasks can get tricky without the right approach—here's how to make desktop folder creation smoother than ever.
- Right-Click Precision: The most common mistake happens in Step 1 when users accidentally right-click on an existing file or icon.
- Naming Strategy: In Step 3, don't just rename your folder—create a system.
Frequently asked questions
Got questions about creating folders on your desktop? You’re not alone! Here are some of the most common queries—and their quick, easy answers—to help you master this task in no time.
Why can’t I see my new folder on the desktop after creating it?
If your folder disappears or isn’t visible, it might be hidden due to View settings. Right-click anywhere on the desktop, select View, then check Hidden items to reveal it. Also, ensure your screen resolution isn’t too low—folders may appear off-screen!
Can I create a folder on the desktop without using the mouse?
Use keyboard shortcuts for speed:
- Windows: Press Ctrl + Shift + N to create a new folder instantly, then name it.
- Mac: Press Shift + Command + N to open a folder prompt, then type its name.
How long does it take to create a folder on the desktop?
Less than 5 seconds if you follow the steps! The process is instant—just right-click, name it, and hit Enter. Even with a slow computer, folder creation is nearly instantaneous. The real time-saver? Batch-naming multiple folders at once (see tips below!).
What if I accidentally delete a folder on the desktop?
Don’t panic! Check your Recycle Bin first—restore it by right-clicking and selecting Restore. If it’s emptied, use File History (Windows) or Time Machine (Mac) to recover it. For extra safety, enable Recycle Bin protection to prevent accidental deletions.
Can I create a folder on the desktop on a tablet or phone?
Yes! On Windows tablets, use the touch keyboard to type the folder name after right-clicking. For iPad/iPhone, open the Files app, tap Browse, then On My iPad (or iPhone storage), and tap the + icon to create a folder. Android users can use the Files by Google app for a similar experience.
Bonus Tip: How do I organize folders for better access?
Use color-coding or icons to categorize folders (e.g., blue for work, green for personal). Rename folders with descriptive keywords (e.g., "2024TaxesDocs" instead of "Folder1"). For frequent use, pin folders to the taskbar (Windows) or Favorites** (Mac) for one-click access!
Wrapping up and next steps
Creating a folder on your desktop is a simple and powerful way to organize your files—no tech expertise needed! 🎉 Whether you're using Windows, macOS, or even a Chromebook, just a few clicks can transform chaos into clarity.
Now that you’ve mastered this basic skill, why not level up? Try customizing your folder with colors, shortcuts, or even automated sorting to make your workflow even smoother. Your digital life will thank you!
Next step: Explore how to organize folders efficiently or dive into advanced file management tricks to keep your desktop clutter-free forever!