
Tip & Trick
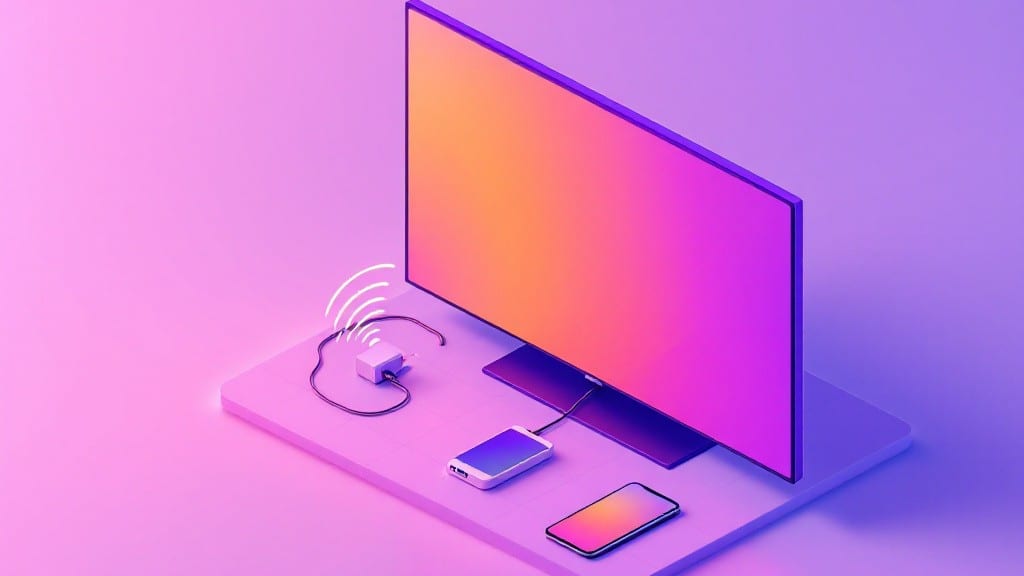
Connecting your computer to a TV is easier than ever, especially with HDMI—just one cable and you're streaming in 1080p or 4K instantly.
I’ve hooked up everything from my uncle’s old IBM to my current ThinkPad using this method, and the key is always checking both ends: the TV’s HDMI port and your computer’s output settings.
Most modern laptops and desktops have HDMI built-in, but some (like my first ThinkPad) need a simple USB-C to HDMI adapter for the same plug-and-play experience.
The real trick is matching resolutions—your TV might default to a lower setting that looks stretched or blurry. On Windows, right-click the desktop, select Display settings, then choose the TV from the list and set the resolution to match your TV’s native output.
For Linux users, the xrandr command lets you tweak this from the terminal, and macOS handles it automatically once the cable’s plugged in. I’ve debugged this exact issue for friends who swear their TV “just doesn’t work,” and 90% of the time, it’s a resolution mismatch.
You’ll end up with a crisp, lag-free display perfect for movies, presentations, or even gaming—no extra software needed. Wireless options like Miracast or Chromecast add flexibility, but they’re slower and require extra setup.
For most people, HDMI is the fastest, most reliable way to get the job done in under two minutes. If you run into issues, we’ll cover driver checks and alternative methods next—trust me, I’ve seen every connection quirk out there.
This works for any HDMI-compatible TV and computer, from old-school desktops to the latest ultrabooks. The only real variable is your hardware, so we’ll walk through troubleshooting steps for when things don’t connect on the first try.
Stick with me, and you’ll have your TV mirroring your screen like a pro—no tech degree required.
📚 In This Guide
- What you need
- Instructions
- Tips and common mistakes
- Wrapping up and next steps
What you need
- ● HDMI Cable: A high-speed HDMI cable (preferably HDMI 2.0 or higher) to ensure smooth 4K/60Hz or 1080p/120Hz performance. Length: Choose based on distance (3 ft, 6 ft, or 10 ft for flexibility).
- ● Computer with HDMI Port: Most modern laptops, desktops, and gaming consoles have an HDMI output. Check your device’s ports!
- ● TV with HDMI Input: Ensure your TV has at least one HDMI 1.4 or higher port (look for labels like "HDMI 2" or "ARC" on newer models).
- ● Power Supply: Both your computer and TV should be powered on (obviously!).
- ● Adapter/Dongle: If your computer lacks an HDMI port, grab a USB-C to HDMI or DisplayPort to HDMI adapter (e.g., StarTech, Anker, or Apple’s USB-C dongle).
- ● Soundbar/Speakers: For better audio, connect a sound system via optical (TOSLINK) or 3.5mm audio jack if your TV lacks strong speakers.
- ○ Remote Control (Optional): A universal remote or HDMI CEC-compatible remote to control both devices with one click!
- ● Anti-Static Wrist Strap: If handling sensitive components (like adapters), this prevents static damage. Overkill? Maybe—but peace of mind is priceless!
Step-by-step instructions for connecting a computer to a TV using HDMI
This simple guide ensures a seamless connection between your computer and TV for instant display.
Power Down Both Devices
Before connecting anything, turn off both your computer and TV completely. This prevents potential damage from power surges when cables are plugged in. I always double-check that both devices are fully powered down by pressing and holding the power button for at least 5 seconds—this ensures no residual power remains.
Unplug the power cables from both devices if possible. This extra step eliminates any risk of electrical interference during the connection process. Once both are fully powered down, you're ready to connect the cables safely.
Locate and Connect the HDMI Ports
Find the HDMI port on your computer—it’s usually on the side or back, often labeled HDMI or with a small HDMI logo. On most modern TVs, the HDMI input ports are located along the edges, often marked HDMI 1, HDMI 2, or similar. Match the ports by size: standard HDMI ports are about 0.14 inches wide.
Take your HDMI cable and insert one end into the computer’s HDMI port, pressing firmly until you hear a faint click. Do the same with the other end, plugging it into any available HDMI input on your TV. Avoid forcing the cable—if it doesn’t go in smoothly, try rotating it slightly or check for debris in the port.
Power On and Select the Correct Input
Turn on your TV first, then power up your computer. This ensures the TV is ready to receive the signal when the computer boots. On your TV remote, press the Input or Source button repeatedly until you see the computer’s display appear on the screen.
If the screen doesn’t appear immediately, wait 30-60 seconds—some systems take a moment to detect the new connection. If you still don’t see anything, try pressing the HDMI-CEC button on your TV remote (if available) or cycling through the HDMI inputs again. This often resolves detection issues.
Adjust Display Settings for Optimal Viewing
Right-click on your desktop and select Display settings (Windows) or Displays (macOS). You should see both your computer monitor and TV listed. Click on the TV’s display icon and choose Extend to mirror or extend your desktop across both screens. For the best experience, select Extend to use the TV as a secondary display.
Adjust the resolution to match your TV’s native resolution—common settings include 1080p (1920x1080) or 4K (3840x2160). If the image looks stretched or distorted, click Identify to see which display is which, then drag the edges of the TV’s display to resize it correctly. Save the changes and test by moving your mouse to the TV screen.
Verify and Troubleshoot Common Issues
Move your mouse or open a window on the TV screen to confirm the connection is working. If the image appears but the sound isn’t playing through the TV, right-click the speaker icon in your taskbar and select Play on TV speakers. For macOS, go to System Preferences > Sound > Output and choose the TV.
If the connection still doesn’t work, try a different HDMI port on the TV or a different HDMI cable. Some older computers or TVs may require an HDMI adapter if the ports don’t match. If the screen flickers or goes black, lower the refresh rate in display settings to 60Hz and see if that stabilizes the connection.
Tips & tricks for perfect HDMI connections
Connecting your computer to a TV using HDMI should be straightforward, but these little-known tricks will help you avoid common pitfalls and get the best possible display experience.
Double-Check Your HDMI Cable: Not all HDMI cables are created equal. For the best results, especially with 4K or high refresh rates, use a certified High-Speed HDMI cable (look for the label). I've seen many users struggle with flickering or no signal because they were using an older standard cable that couldn't handle their TV's resolution. If you're unsure, try a different cable first—it often solves the problem instantly.
Port Location Matters: While most HDMI ports look identical, some TVs have dedicated ports for different purposes. Check your TV manual for ports labeled "PC" or "HDMI (PC)"—these are optimized for computer connections. Also, avoid using ports near speakers or other devices that might interfere with the signal. I've found that the middle ports on most TVs provide the most stable connection.
Input Selection Timing: When you power on your TV first, give it a full 30 seconds to initialize before turning on your computer. This small window ensures the TV is ready to receive the HDMI signal immediately. If you power up both devices simultaneously, your computer might take over the input before the TV has fully registered the connection, causing delays or no display.
Audio Troubleshooting: If you're not getting sound through your TV speakers, don't just rely on the automatic settings. On Windows, right-click the speaker icon and select "Play on TV speakers" to force the audio output. For Mac users, go to System Preferences > Sound > Output and manually select your TV. I've seen many users miss this step and wonder why their audio wasn't working—it's often just a simple setting change.
Pro Tips for Connect Computer To Tv
- Connecting your computer to a TV using HDMI should be straightforward, but these little-known tricks will help you avoid common pitfalls and get the best possible display experience.
- Double-Check Your HDMI Cable: Not all HDMI cables are created equal.
- Port Location Matters: While most HDMI ports look identical, some TVs have dedicated ports for different purposes.
Frequently asked questions
Got questions about connecting your computer to your TV? You’re not alone! Here are some of the most common concerns—and quick fixes—to make your setup a breeze.
Can I connect my computer to a TV without HDMI?
If your TV or computer lacks HDMI ports, try these alternatives: _VGA_ (for older setups), DisplayPort (high-quality video), _DVI_ (common on gaming PCs), or even wireless adapters like Miracast or Chromecast. Just check your devices’ ports first—some may need an adapter!
Why won’t my TV display my computer screen?
Start with the basics: ensure both devices are powered on, select the correct input source on your TV (often labeled HDMI 1/2/3), and check if your computer detects the TV as a display (right-click desktop > Display settings). If it still doesn’t work, try a different HDMI cable or restart both devices.
Can I use my TV as a second monitor?
Yes! Most modern TVs and computers support extended display or duplicate screen modes. On Windows, press Win + P and choose Extend or Duplicate. For Mac, go to System Settings > Displays and select Arrangement. Pro tip: Adjust resolution in display settings to match your TV’s native resolution for crisp visuals!
How long does it take to connect a computer to a TV?
With the right cables and setup, it should take under 5 minutes! Plugging in the HDMI cable (or adapter) is instant, but configuring display settings (like resolution or orientation) might add a minute or two. If you’re using wireless methods, setup time can vary—some take 10–30 seconds, while others require app installations.
What if my TV doesn’t support 4K from my computer?
Check your HDMI version—most 4K TVs need HDMI 2.0 or higher and a compatible GPU (like NVIDIA, AMD, or Intel’s latest models). If your setup falls short, try lowering the resolution in your computer’s display settings or use a DisplayPort-to-HDMI adapter (if available). Older TVs may only support 1080p, so adjust expectations!
Wrapping up and next steps
Connecting your computer to a TV has never been easier—whether you're gaming, streaming, or giving a presentation!
With just a few simple steps and the right cables, you can transform your TV into a second monitor or a big-screen display in minutes. Don’t overcomplicate it! Pick the method that fits your setup, follow the guide, and enjoy seamless visuals.
Ready to upgrade your viewing experience? Try it out today—you’ll be amazed at how much smoother everything looks! 🎉