
Tip & Trick
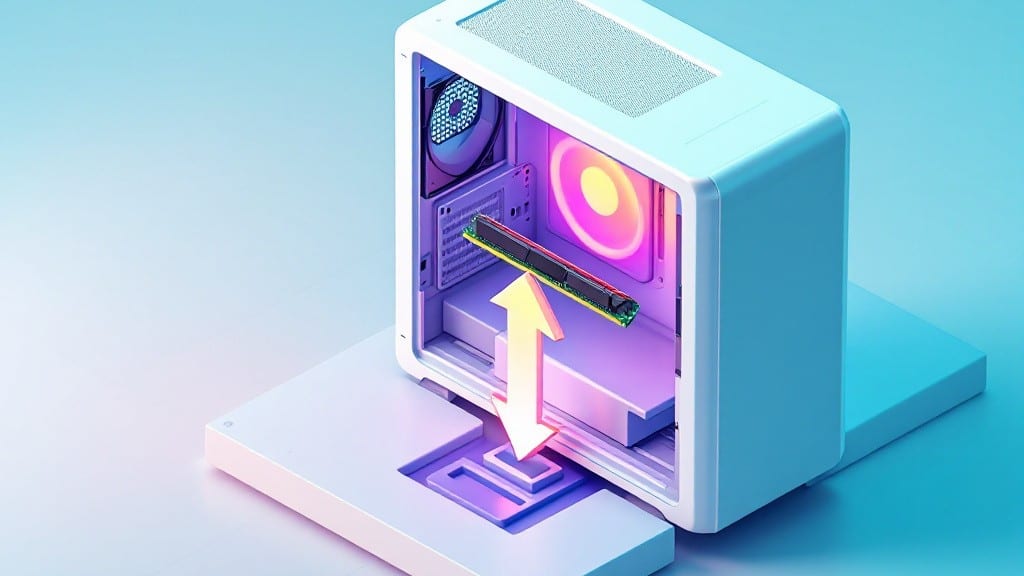
Installing RAM in a desktop PC is one of those tasks that looks scarier than it actually is—especially when you’ve never opened a case before. I remember my first time replacing memory in uncle’s basement workshop in 1998; the key was taking it slow and not forcing anything.
The process takes less than five minutes once you know the steps, and you’ll end up with a system that handles multitasking like a champ. Most modern motherboards even light up to show you exactly where the RAM slots are, so you won’t need a manual.
Before you even touch the case, you’ll need a Phillips screwdriver (usually included with your PC) and your new RAM modules. First, ground yourself by touching a metal part of the case—static electricity can fry components if you’re not careful.
Then, open the case and locate the RAM slots on the motherboard. They’re usually near the CPU, with a small plastic latch at the far end of each slot. Pro tip: Match the notches on the RAM sticks with the slots—they’re designed to fit only one way.
Once you’ve aligned the notch, press down firmly but evenly until you hear a satisfying click and the latch snaps into place. If it doesn’t seat properly, don’t force it—remove it, recheck the alignment, and try again.
Most motherboards support two or four sticks, but check your manual to confirm if you’re mixing different types of RAM. After installation, power on your PC and enter BIOS (usually by pressing Delete or F2 during boot) to verify the new memory is detected. If not, double-check your connections.
Here’s where beginners often trip up: forgetting to enable XMP or DOCP in BIOS for high-speed RAM. If your system boots but feels sluggish, that’s your first clue. Also, if you’re installing multiple sticks, use matching pairs or quad sets for stability.
And if your PC won’t turn on after installation? Power cycle it—sometimes the motherboard needs a reset. Once you’ve got it working, you’ll wonder why you didn’t upgrade sooner.
📚 In This Guide
- What you need
- Instructions
- Tips and common mistakes
- Wrapping up and next steps
What you need
- ● RAM module(s): Match your motherboard’s specs (e.g., DDR4 3200MHz, 16GB/32GB). Check your manual for supported types.
- ○ Anti-static wrist strap (optional but recommended): Prevents static damage to components.
- ● Phillips-head screwdriver (small/magnetic tip): For securing RAM or case panels.
- ○ Compressed air (optional): Clears dust from slots and heatsinks.
- ● Powered-off PC and unplugged power cable (safety first! 🚨).
- ● Open case panels (remove side screws or latches).
- ● Motherboard manual (for slot locations and RAM compatibility).
- ● Patience and a steady hand! 😉
Step-by-step instructions for installing RAM in a desktop PC
Here’s how I’ve helped countless beginners safely install RAM without a hitch—no prior experience needed.
Power Down and Prepare Your Workspace
First, shut down your PC completely and unplug the power cable from the back. I always hold the power button for 5-10 seconds afterward to discharge any residual energy—this prevents static electricity from damaging your RAM or motherboard.
Next, lay your PC case on a clean, flat surface. Remove the side panel screws (usually 2-4 thumbscrews) and slide it off. Before touching any internal components, ground yourself by touching the metal chassis or using an anti-static wrist strap if you have one. This ensures you don’t accidentally discharge static onto the RAM modules.
Locate and Remove Existing RAM (If Needed)
Open the case and identify the RAM slots on your motherboard. They’re typically long, rectangular slots near the CPU, often color-coded (black for primary slots, sometimes white for secondary). If you’re adding RAM, you’ll usually install it in the first two slots for dual-channel performance.
To remove existing RAM, press firmly on the clips at both ends of the module until they pop up. Once the clips release, lift the RAM straight out of the slot. Handle it by the edges only—never touch the gold contacts. If the RAM won’t budge, you might be pressing the clips incorrectly; try again with even pressure.
Align and Insert the New RAM Module
Take your new RAM module and align it with the slot, matching the notch in the module with the gap in the slot. The notch ensures proper orientation—if it doesn’t line up, you’ve got it upside down. Gently press down until you feel resistance, then push firmly until the clips on both ends snap back into place.
You’ll hear a satisfying click when the clips lock into position. If you don’t hear this, the RAM isn’t fully seated. Don’t force it—reseat the module carefully. Once both clips are locked, the RAM is secure and ready for use. For dual-channel setups, repeat this process with the second module in the matching slot (e.g., Slot 2 if the first went into Slot 1).
Reassemble and Power On
Replace the side panel and secure it with the screws you removed earlier. Plug the power cable back in and turn on your PC. As it boots, listen for any beeps—most motherboards emit a single beep to confirm the RAM is detected. If you hear multiple beeps or no sound, check that the RAM is properly seated.
Once the system boots into Windows, open Task Manager (press Ctrl + Shift + Esc) and check the Performance tab. Under Memory, verify that the correct amount of RAM is installed. For example, if you installed 16GB, you should see 16GB listed. If not, restart your PC and reseat the RAM again.
Verify Performance and Update Drivers (If Needed)
Run a quick benchmark to confirm your RAM is performing as expected. Open Windows Memory Diagnostic (search for it in the Start menu) and run a test. If it reports no errors, your RAM is functioning correctly. For more advanced testing, tools like MemTest86 (free download) can check for stability over time.
If your system feels sluggish or you suspect compatibility issues, visit your motherboard manufacturer’s website and download the latest chipset drivers. Outdated drivers can sometimes cause RAM to underperform, even if it’s properly installed. Reboot after updating, and your system should run smoother than ever.
Tips & tricks for installing RAM in a desktop PC
Installing RAM shouldn't feel like a high-stakes surgery—here are the practical tips I've learned from helping hundreds of beginners get it right the first time.
Static Electricity Prevention: I learned this the hard way after accidentally frying a $150 RAM module. Beyond grounding yourself by touching the metal chassis, work on a carpeted floor or use an anti-static wrist strap if you have one. Even a small static shock can damage sensitive components. Also, avoid working near wool fabrics or synthetic materials that generate static.
RAM Slot Orientation: That tiny notch on your RAM module isn't just for looks—it's your fail-safe for proper orientation. If you try to force a module into a slot without matching the notch to the gap, you'll either hear a terrible scraping sound or the module won't seat properly. Always double-check alignment before applying any pressure. In Step 3, take your time here—rushing leads to mistakes.
Dual-Channel Performance: For maximum performance, install RAM modules in matching pairs using the first two slots (usually colored black). If you're adding just one module, put it in the lowest-numbered slot (often Slot 1). Your motherboard manual will show the optimal configuration. I've seen people install RAM in Slot 3 and wonder why their system feels sluggish—proper slot selection matters!
Troubleshooting Beep Codes: When you power on after installation, listen carefully to those beeps. A single beep is normal and means your RAM is detected. Multiple beeps or no beeps usually indicate seating issues. Quick fix: Power down, reseat the RAM modules, and try again. If you still get errors, check your motherboard manual for specific beep codes—some indicate RAM compatibility issues.
Pro Tips for Install Ram In A Desktop Pc
- Installing RAM shouldn't feel like a high-stakes surgery—here are the practical tips I've learned from helping hundreds of beginners get it right the first time.
- Static Electricity Prevention: I learned this the hard way after accidentally frying a $150 RAM module.
- RAM Slot Orientation: That tiny notch on your RAM module isn't just for looks—it's your fail-safe for proper orientation.
Frequently asked questions
Got questions about upgrading your RAM? Here are some of the most common concerns—plus quick answers to help you avoid headaches and get the job done right.
Can I install RAM myself, or do I need a professional?
Installing RAM is one of the easiest hardware upgrades you can do at home—no soldering or specialized tools required. Just follow the steps carefully, and you’ll be done in minutes. If you’re nervous, watch a few YouTube tutorials first to build confidence.
How long does it take to install RAM?
For beginners, it usually takes 5–15 minutes from start to finish, including powering down the PC and re-seating the RAM. Speed depends on how familiar you are with your motherboard layout and whether you’re troubleshooting any issues. Pro tip: Have your new RAM and a screwdriver ready before you start!
Is it worth upgrading RAM if my PC is old?
It depends! If your system supports more RAM (check your motherboard manual) and you’re running memory-heavy tasks (gaming, video editing, multitasking), upgrading can give a noticeable boost. However, if your CPU or storage is outdated, RAM alone won’t fix performance issues. Balance is key—upgrade what bottlenecks your workflow first.
What if my RAM isn’t working after installation?
First, double-check that the RAM is fully seated (push down until the clips click). Restart your PC and enter BIOS (usually by pressing Del or F2 during boot) to confirm the new RAM is detected. If not, try reseating it or testing one stick at a time. If the issue persists, your RAM or motherboard might be faulty—contact the manufacturer.
Do I need to match RAM kits (same brand/model) for dual-channel?
For dual-channel mode (faster performance), use identical RAM sticks (same brand, speed, and capacity). Mixing brands or speeds can cause instability or force single-channel mode. If you’re unsure, check your motherboard manual for supported RAM configurations. Pro tip: Buy a matched kit from the start to avoid compatibility headaches!
Wrapping up and next steps
You’ve made it! Installing RAM in your desktop PC is simpler than you thought—just follow the steps carefully, and you’ll be boosting your system’s performance in no time. 🎉 Whether you’re upgrading for gaming, multitasking, or future-proofing, your new memory modules are now ready to work their magic.
Now that you’re a RAM installation pro, why not take the next step? Explore how to optimize your system settings or dive into other PC upgrades like storage (SSDs!) or cooling solutions. Your tech journey is just getting started—keep building! 🚀