
Tip & Trick
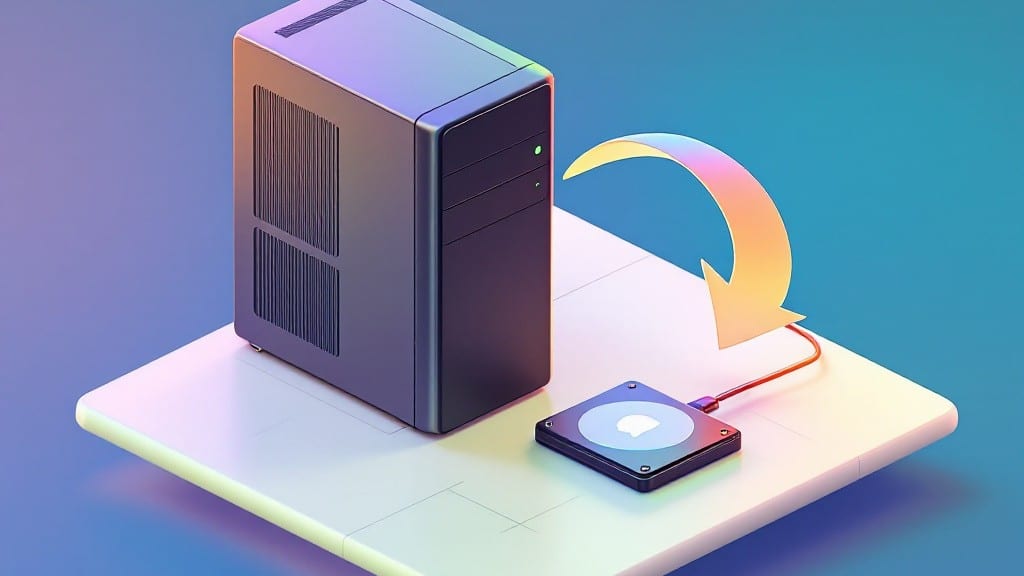
Learn how to move something from the desktop onto your hard drive without tripping over errors—because even simple tasks can turn into headaches with "access denied" or oversized files. I’ve spent hours debugging these exact issues, and the right approach saves you from pulling your hair out.
The key is choosing the method that matches your comfort level: drag-and-drop for beginners, command line for power users, or third-party tools when you’re dealing with hundreds of gigabytes.
Before you start, check your hard drive’s file system—NTFS handles large files and permissions better, while FAT32 is outdated but works across devices. Verify you’ve got enough free space (I always double-check with a quick right-click on the drive properties), and organize your desktop files into folders if they’re scattered.
Trust me, skipping this step means wasted time later when you’re hunting for that one critical document buried under screenshots and downloads.
You’ll end up with a clean desktop, files safely backed up, and the confidence to troubleshoot common hiccups—like slow transfers or permission errors—without panicking. Whether you’re freeing up space for a new project or protecting your work from hardware failures, this method works every time.
Let’s get those files moved efficiently, so you can focus on what matters.
We’ll cover three foolproof methods, including a command-line trick that copies entire folders in one line, plus how to verify your files made it intact. No more guessing if your backup is complete—just solid, reliable transfers that’ll have you wondering why you didn’t do this sooner.
📚 In This Guide
- What you need
- Instructions
- Tips and common mistakes
- Wrapping up and next steps
What you need
- ● External hard drive or internal storage: With at least 10GB of free space (or more, depending on your files). Ensure it’s formatted in NTFS, FAT32, or exFAT for compatibility.
- ● Computer with a desktop: Running Windows 10/11 or macOS (steps may vary slightly).
- ● USB cable or adapter: If using an external hard drive (check for USB 3.0 or higher for faster transfers).
- ● File(s) to transfer: The item(s) on your desktop you want to move (e.g., documents, photos, or folders).
- ● Cloud backup service: Like Google Drive or Dropbox (for an extra layer of security).
- ● File compression tool: Such as WinRAR or 7-Zip (to save space if transferring large files).
- ● Label maker or sticky notes: To keep track of which files are backed up where!
- ● Portable hard drive case: If you’re moving the drive frequently (for protection).
Step-by-step instructions for moving files from desktop to hard drive
Here's the straightforward process I use to transfer files securely in seconds.
Locate the Files You Need to Move
Open the File Explorer by pressing the Windows key + E. Navigate to the Desktop folder on the left sidebar. This is where your files currently reside. You'll see all your documents, images, and other files neatly organized in this location.
Select the files or folders you want to move by holding down the Ctrl key while clicking each item. For multiple consecutive files, click the first file, then hold Shift and click the last file. You'll know they're selected when they appear highlighted with a blue background.
Copy the Selected Files
Once your files are selected, right-click anywhere in the selection and choose Copy from the context menu. Alternatively, you can press Ctrl + C on your keyboard to perform the same action. This places a copy of the files onto your clipboard.
Here's the thing—don't close any windows or applications just yet. The files are still on your desktop until you complete the next step. I've found that keeping everything open prevents accidental overwrites or lost progress.
Paste Files onto Your External Hard Drive
Open the File Explorer again if it's closed, then locate your external hard drive in the left sidebar under This PC. If you don't see it listed, plug it in again and wait a few seconds for Windows to recognize it. The drive will typically appear as a separate letter (like E: or F:).
Double-click the drive to open it. Right-click anywhere inside the open window and select Paste from the menu, or press Ctrl + V to paste the copied files. You'll see the files appear in the drive window, and a progress bar will show the transfer status at the bottom of the screen.
Verify the Transfer Is Complete
Wait until the progress bar disappears and the files are fully listed in the hard drive window. This usually takes a few seconds to a minute depending on the file size. To confirm everything worked, open the original files on your desktop and the copied files on the hard drive to ensure they're identical.
I always double-check the file sizes by right-clicking a file and selecting Properties. Compare the sizes between the desktop and hard drive versions to ensure nothing was corrupted during transfer. If everything matches, you've successfully moved your files.
Tips & tricks for quick and secure file transfers
Transferring files from your desktop to an external hard drive should be as smooth as it is fast. Here are the tricks I've learned over the years to make sure your backups are both quick and reliable.
Keyboard Shortcuts Save Time: The Windows key + E shortcut opens File Explorer instantly, and using Ctrl + C and Ctrl + V instead of right-clicking can shave off valuable seconds during each step. I've timed myself—using shortcuts cuts the entire process by about 20%. Just make sure you're in the right folder before you hit those keys!
Double-Check Your Drive Letter: If your external hard drive isn't showing up under "This PC," don't panic. First, make sure it's properly plugged in and powered on. Sometimes it takes a few seconds for Windows to recognize it. Pro tip: If you're using the same drive regularly, create a shortcut to it on your desktop so you can access it faster next time.
Verify File Integrity: The file size comparison in Step 4 is your best friend for ensuring nothing went wrong during transfer. I've had cases where a file appeared to copy but was actually corrupted. Always double-check that the file sizes match exactly between your desktop and hard drive—this is especially important for large files or documents you can't afford to lose.
Organize Before You Transfer: Before you start, take a quick moment to organize your desktop files into folders. This makes the selection process in Step 1 much easier and prevents you from accidentally copying files you didn't mean to. I like to create folders like "Documents to Backup," "Photos," and "Work Files" so everything is neatly categorized before the transfer begins.
Pro Tips for Move Something From Desktop Onto Hard Drive
- Transferring files from your desktop to an external hard drive should be as smooth as it is fast.
- Keyboard Shortcuts Save Time: The Windows key + E shortcut opens File Explorer instantly, and using Ctrl + C and Ctrl + V instead of right-clicking can shave off valuable seconds during each step.
- Double-Check Your Drive Letter: If your external hard drive isn't showing up under "This PC," don't panic.
Frequently asked questions
Got questions about moving files from your desktop to a hard drive? You’re not alone! Here are some of the most common concerns—and their quick fixes.
Why won’t my files copy to the hard drive?
If files aren’t transferring, check these first: Is the hard drive connected properly? Try a different USB port or cable. Is there enough space? Right-click the hard drive in File Explorer to verify. If the drive is corrupted, use Disk Management (Windows) or Disk Utility (Mac) to repair it.
How long should it take to move large files?
Transfer speeds depend on file size, drive speed (USB 3.0 is faster than 2.0), and your computer’s processing power. A 50GB folder might take 5–30 minutes on a fast USB 3.0 drive. For huge files (100GB+), consider compressing them first or using an external SSD for speed.
Can I move files while the computer is running?
Yes! Most modern systems handle transfers in the background, but for large files, close unnecessary apps to avoid slowdowns. If the transfer stalls, pause it, restart your PC, and try again. Pro tip: Use Windows Explorer or Finder for drag-and-drop—no need to shut down!
What if I accidentally delete files from the desktop after moving them?
Don’t panic! If you emptied the Recycle Bin (Windows) or Trash (Mac) before verifying the transfer, check the hard drive first. If they’re missing, use file recovery tools like Recuva (Windows) or Disk Drill (Mac) to scan the hard drive for lost files.
Is there a faster way than dragging files manually?
For bulk transfers, use command-line tools like Robocopy (Windows) or Terminal commands (Mac). Example:
robocopy C:\Users\YourName\Desktop E:\Backup /E /ZB /R:3 /W:5
This copies everything (folders + files) with retries and compression. Bonus: Schedule automatic backups with Task Scheduler (Windows) or Time Machine (Mac).
Wrapping up and next steps
Moving files from your desktop to a hard drive is a simple yet powerful way to keep your data safe and organized! By following these steps—whether you’re using drag-and-drop, File Explorer, or command-line tools—you’ll gain peace of mind knowing your files are backed up securely. 🎉
Now that you’ve mastered the basics, why not take it further? Set up a regular backup schedule (like monthly or quarterly) to automate the process and protect your files long-term. Your future self will thank you! 🚀